How I Almost Missed Tasting Wine in Czechia

During my trip I visited Czech Republic twice and both times I had a really nice time meeting interesting people. If you are good with maps then you are probably thinking why I say ‘twice’ if crossing from west to east should have taken me through Czechia just once in a straight line.

The secret is that I had been lucky to know people that gave me excellent advice and when you have such precious info, it’s hard not to follow it even when it doesn’t make any geographical sense.

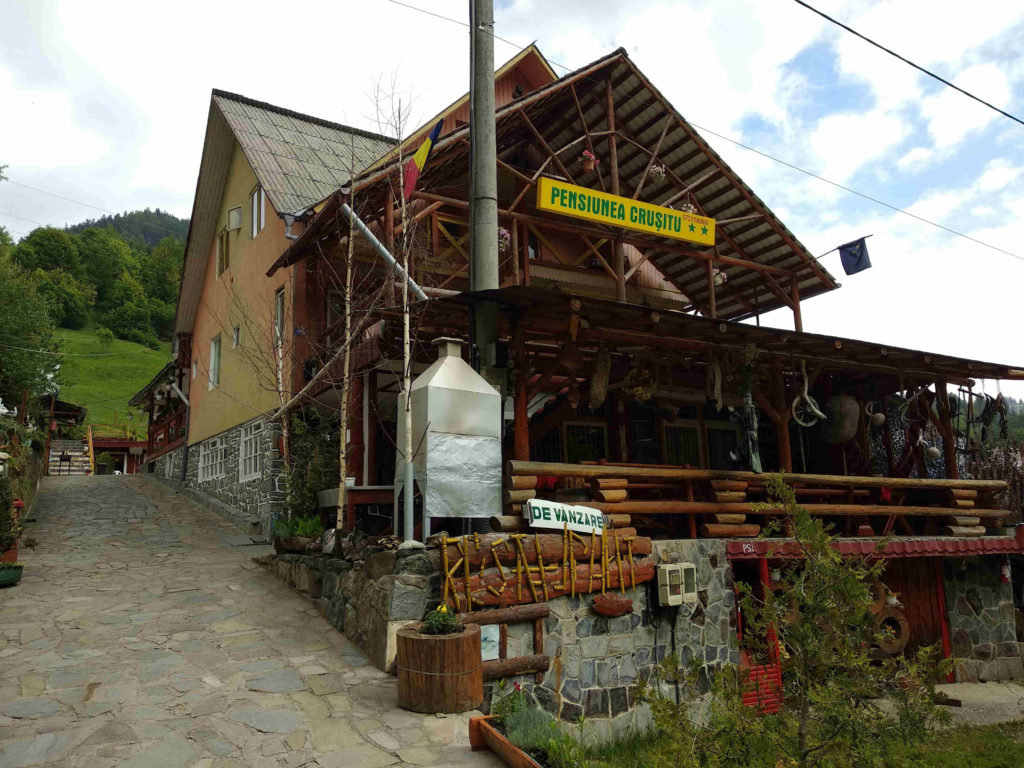
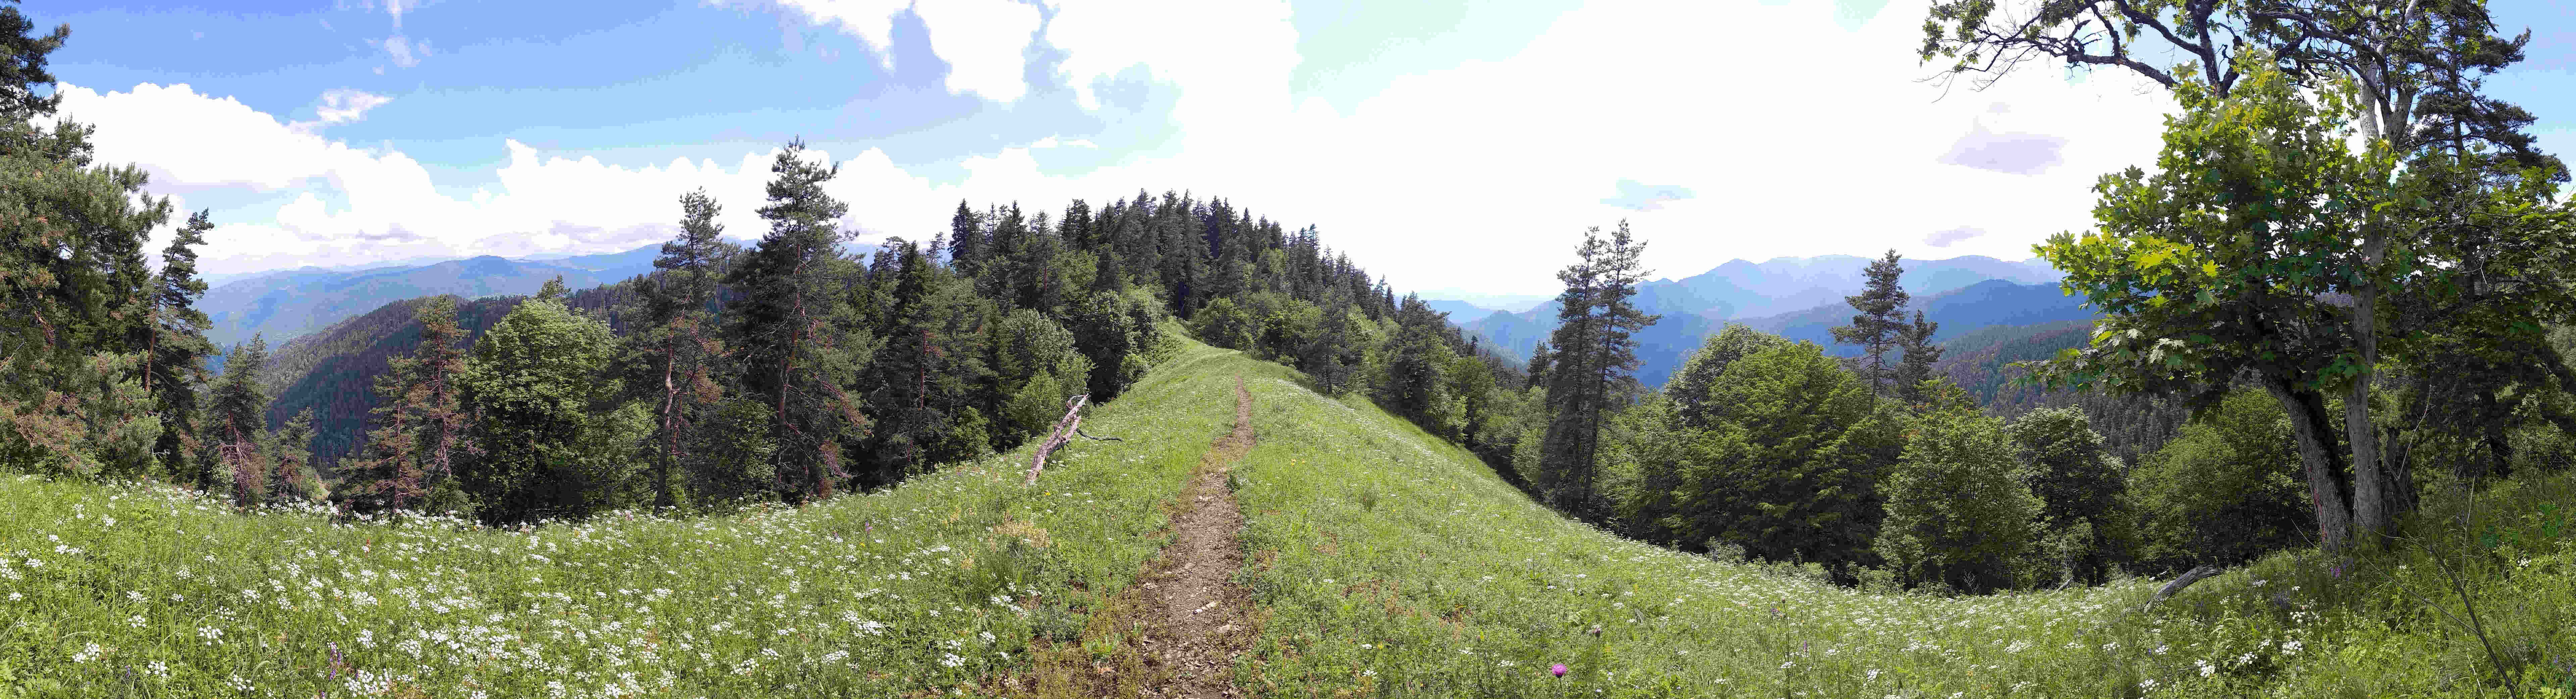
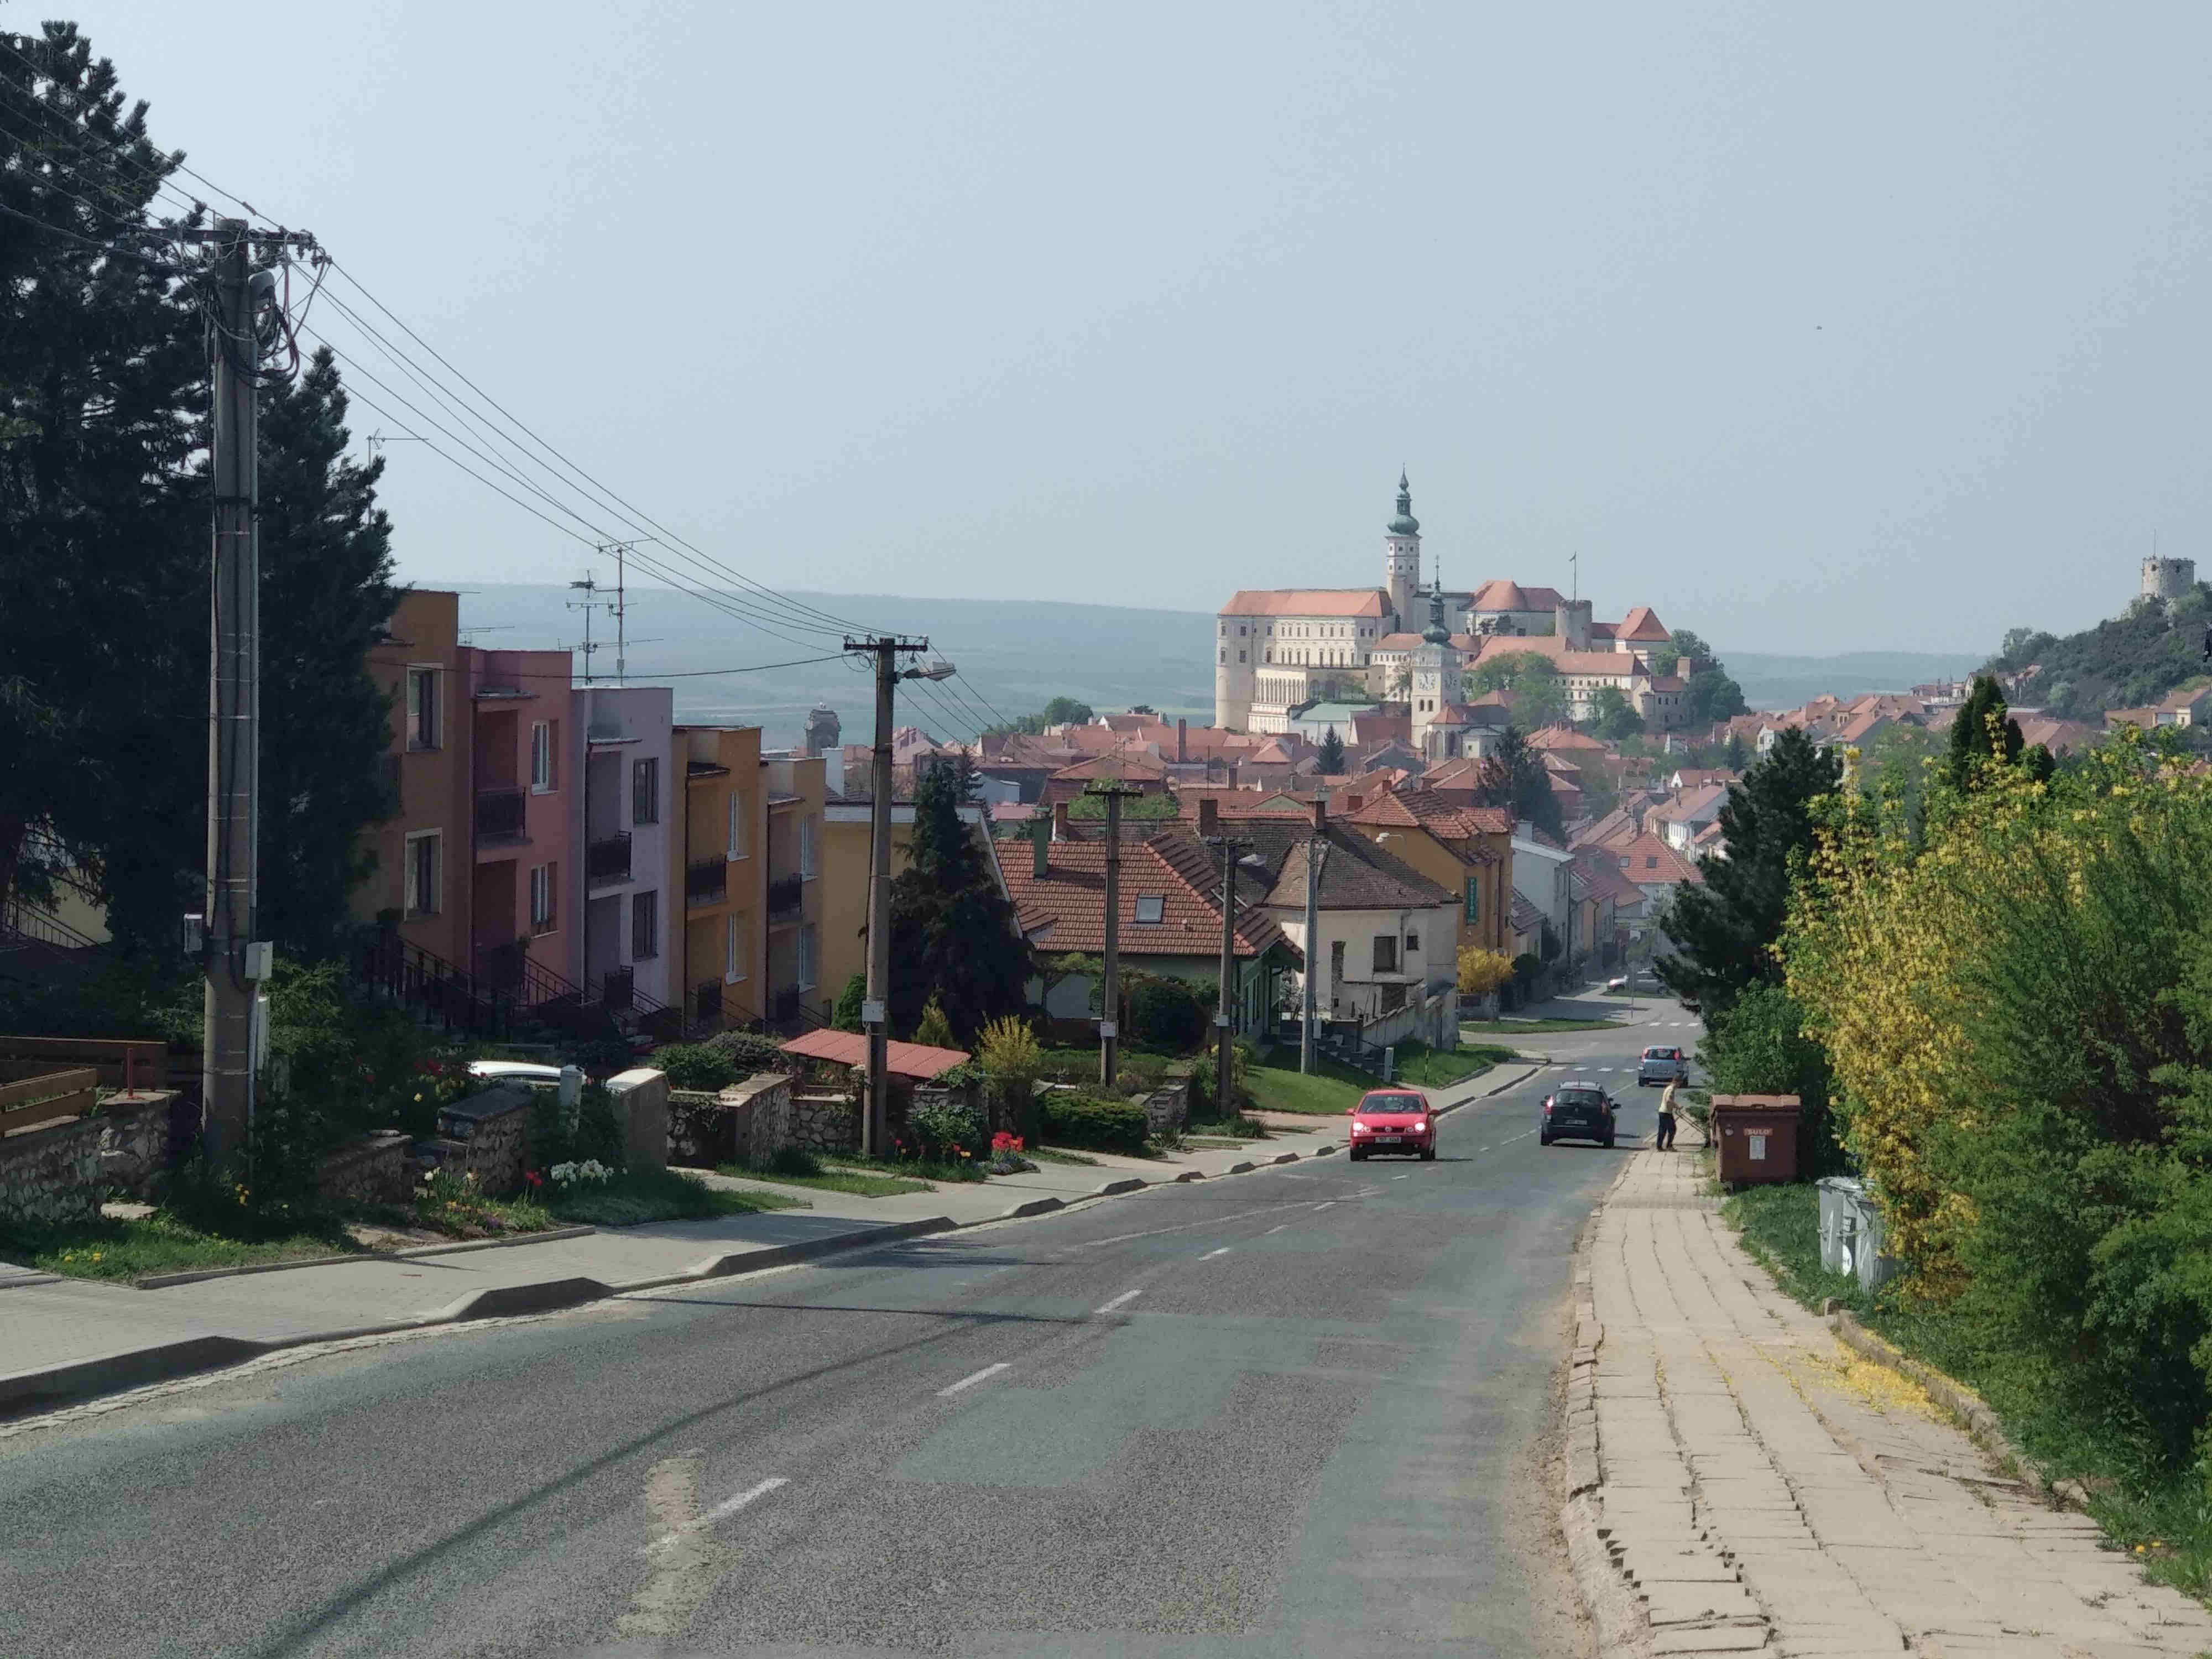
So this story is about my second visit to Czechia, to an area called Mikulov. Mikulov is a town and a whole area specialized in wine-making considered to be the ‘center of Czech wine-making traditions.’ It’s a nice little town – though biggest in the area – with a lot of  history and architecture. The wine-making area of Mikulov has a hilly green landscape mapped as the Palava Protected Area. If you decide to take a rest day here, you can make an excellent easy ride through vineyards, forests and small villages.
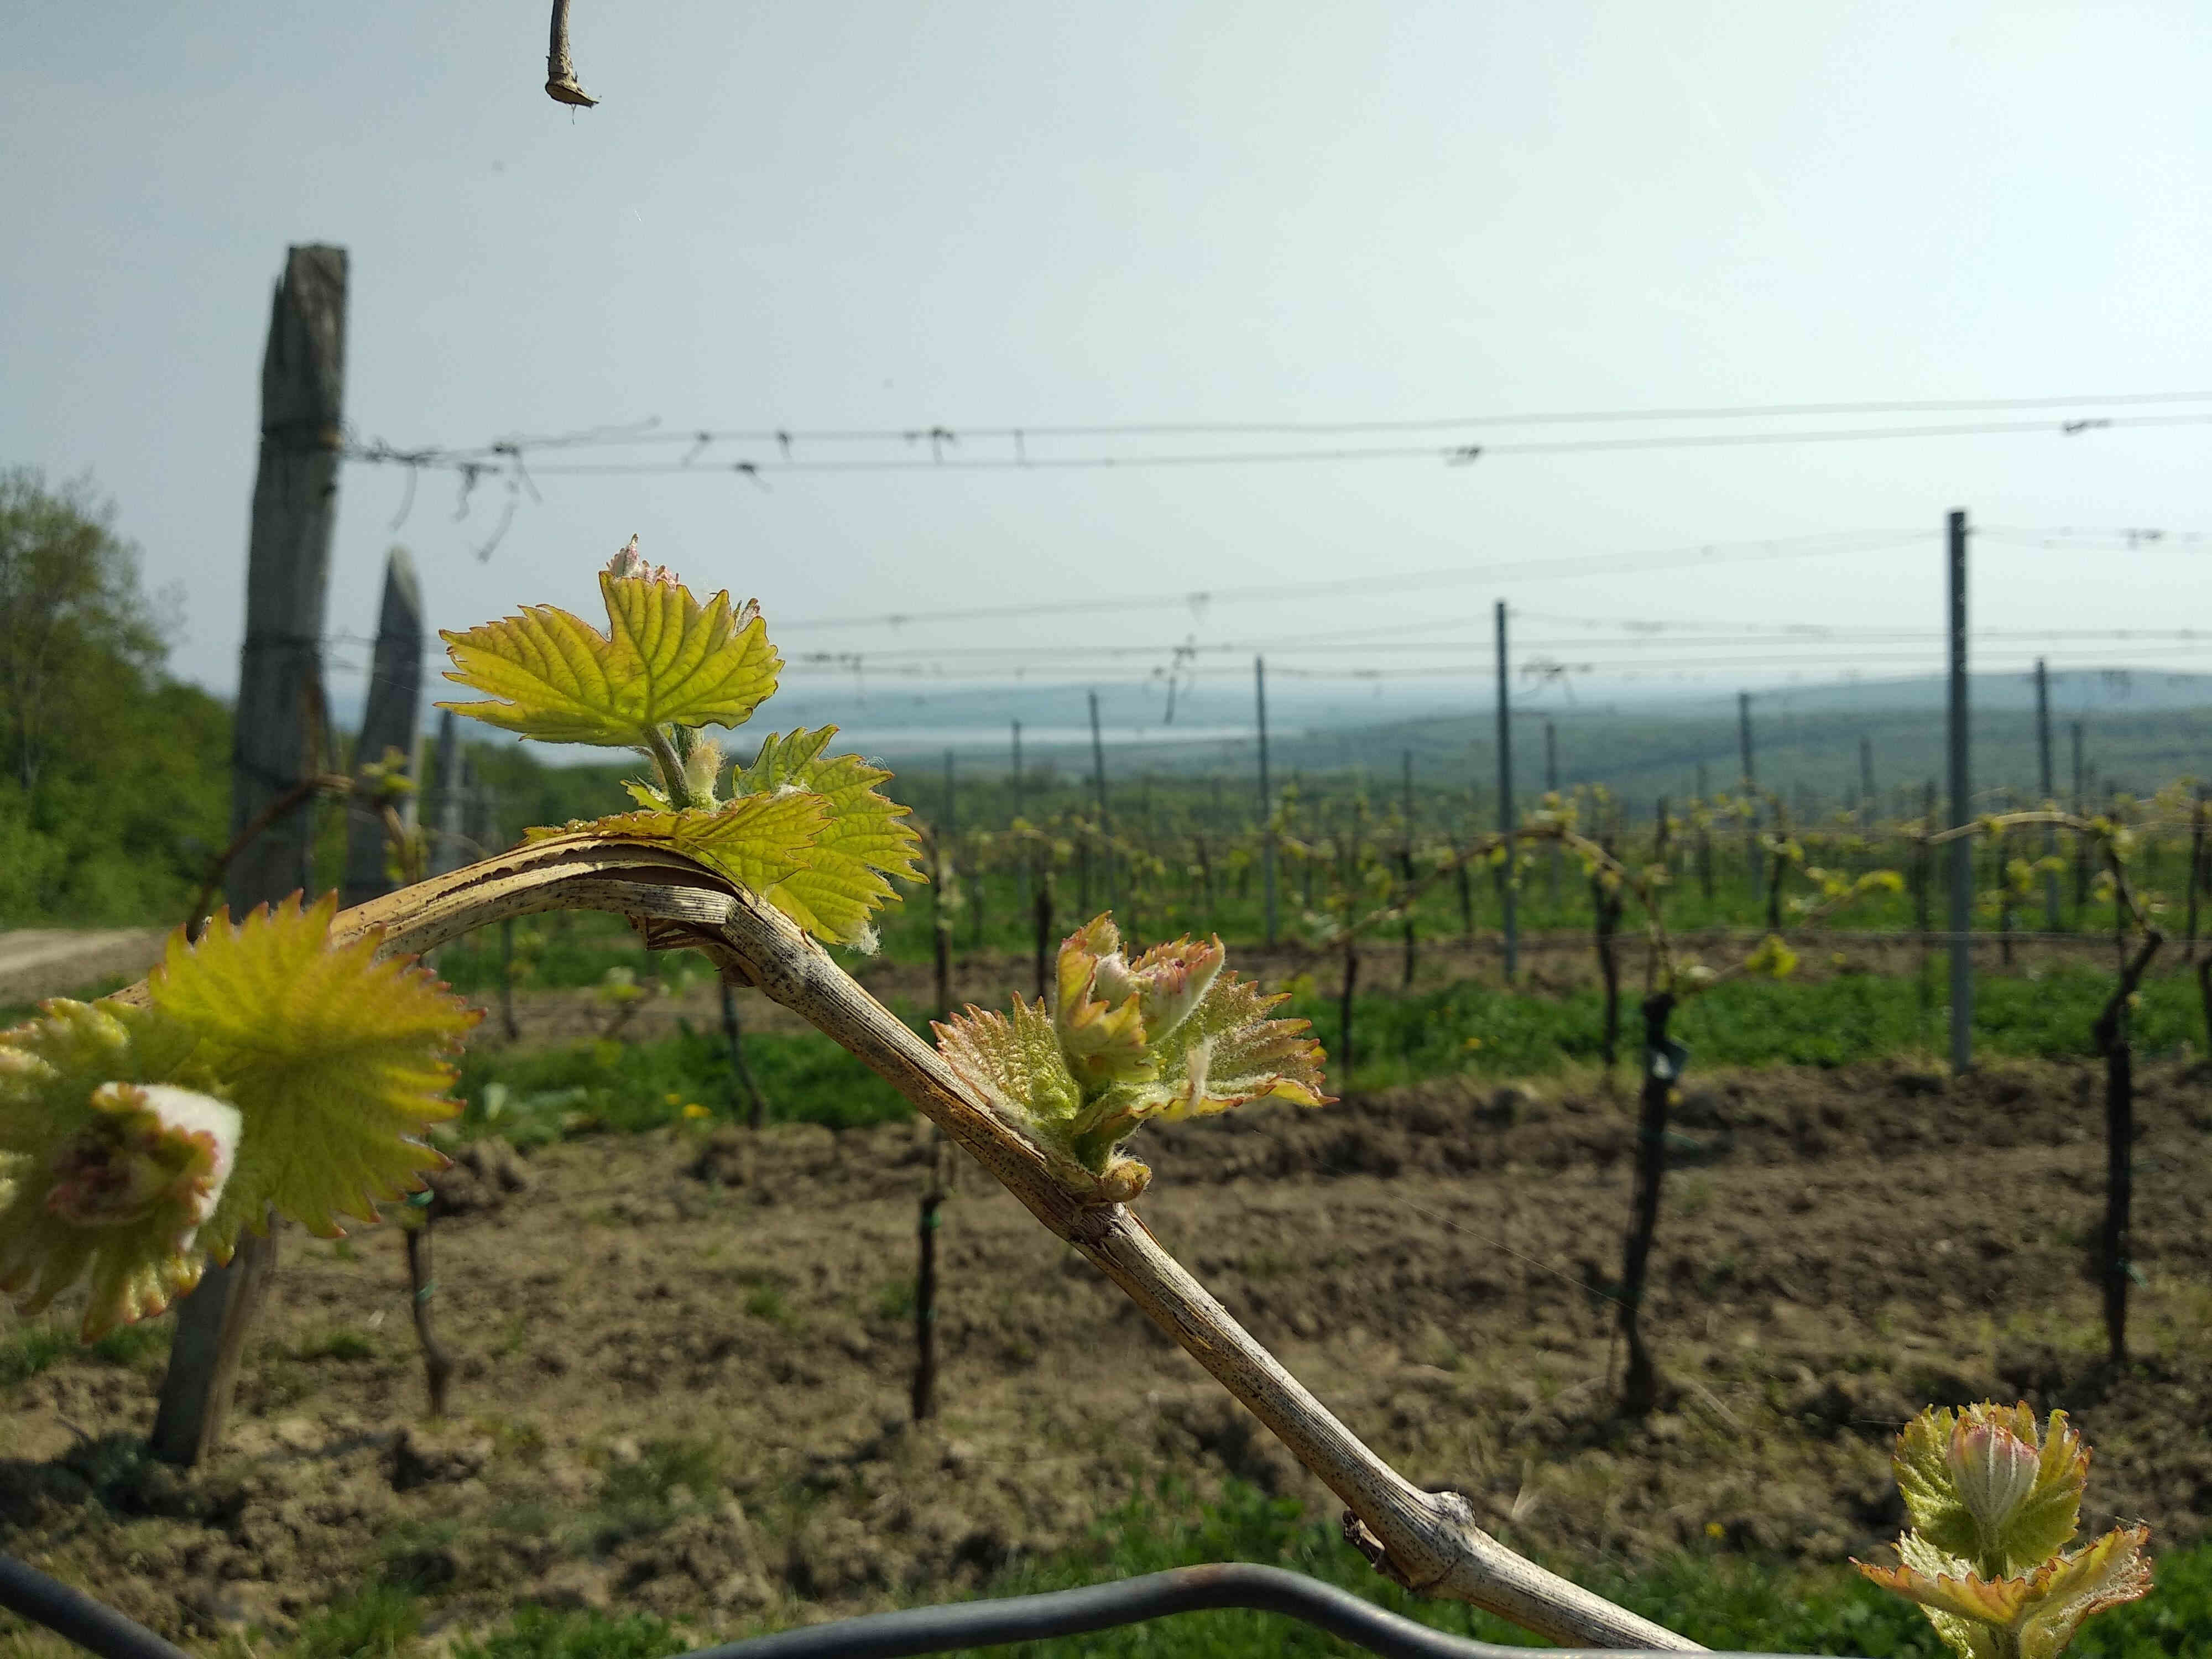
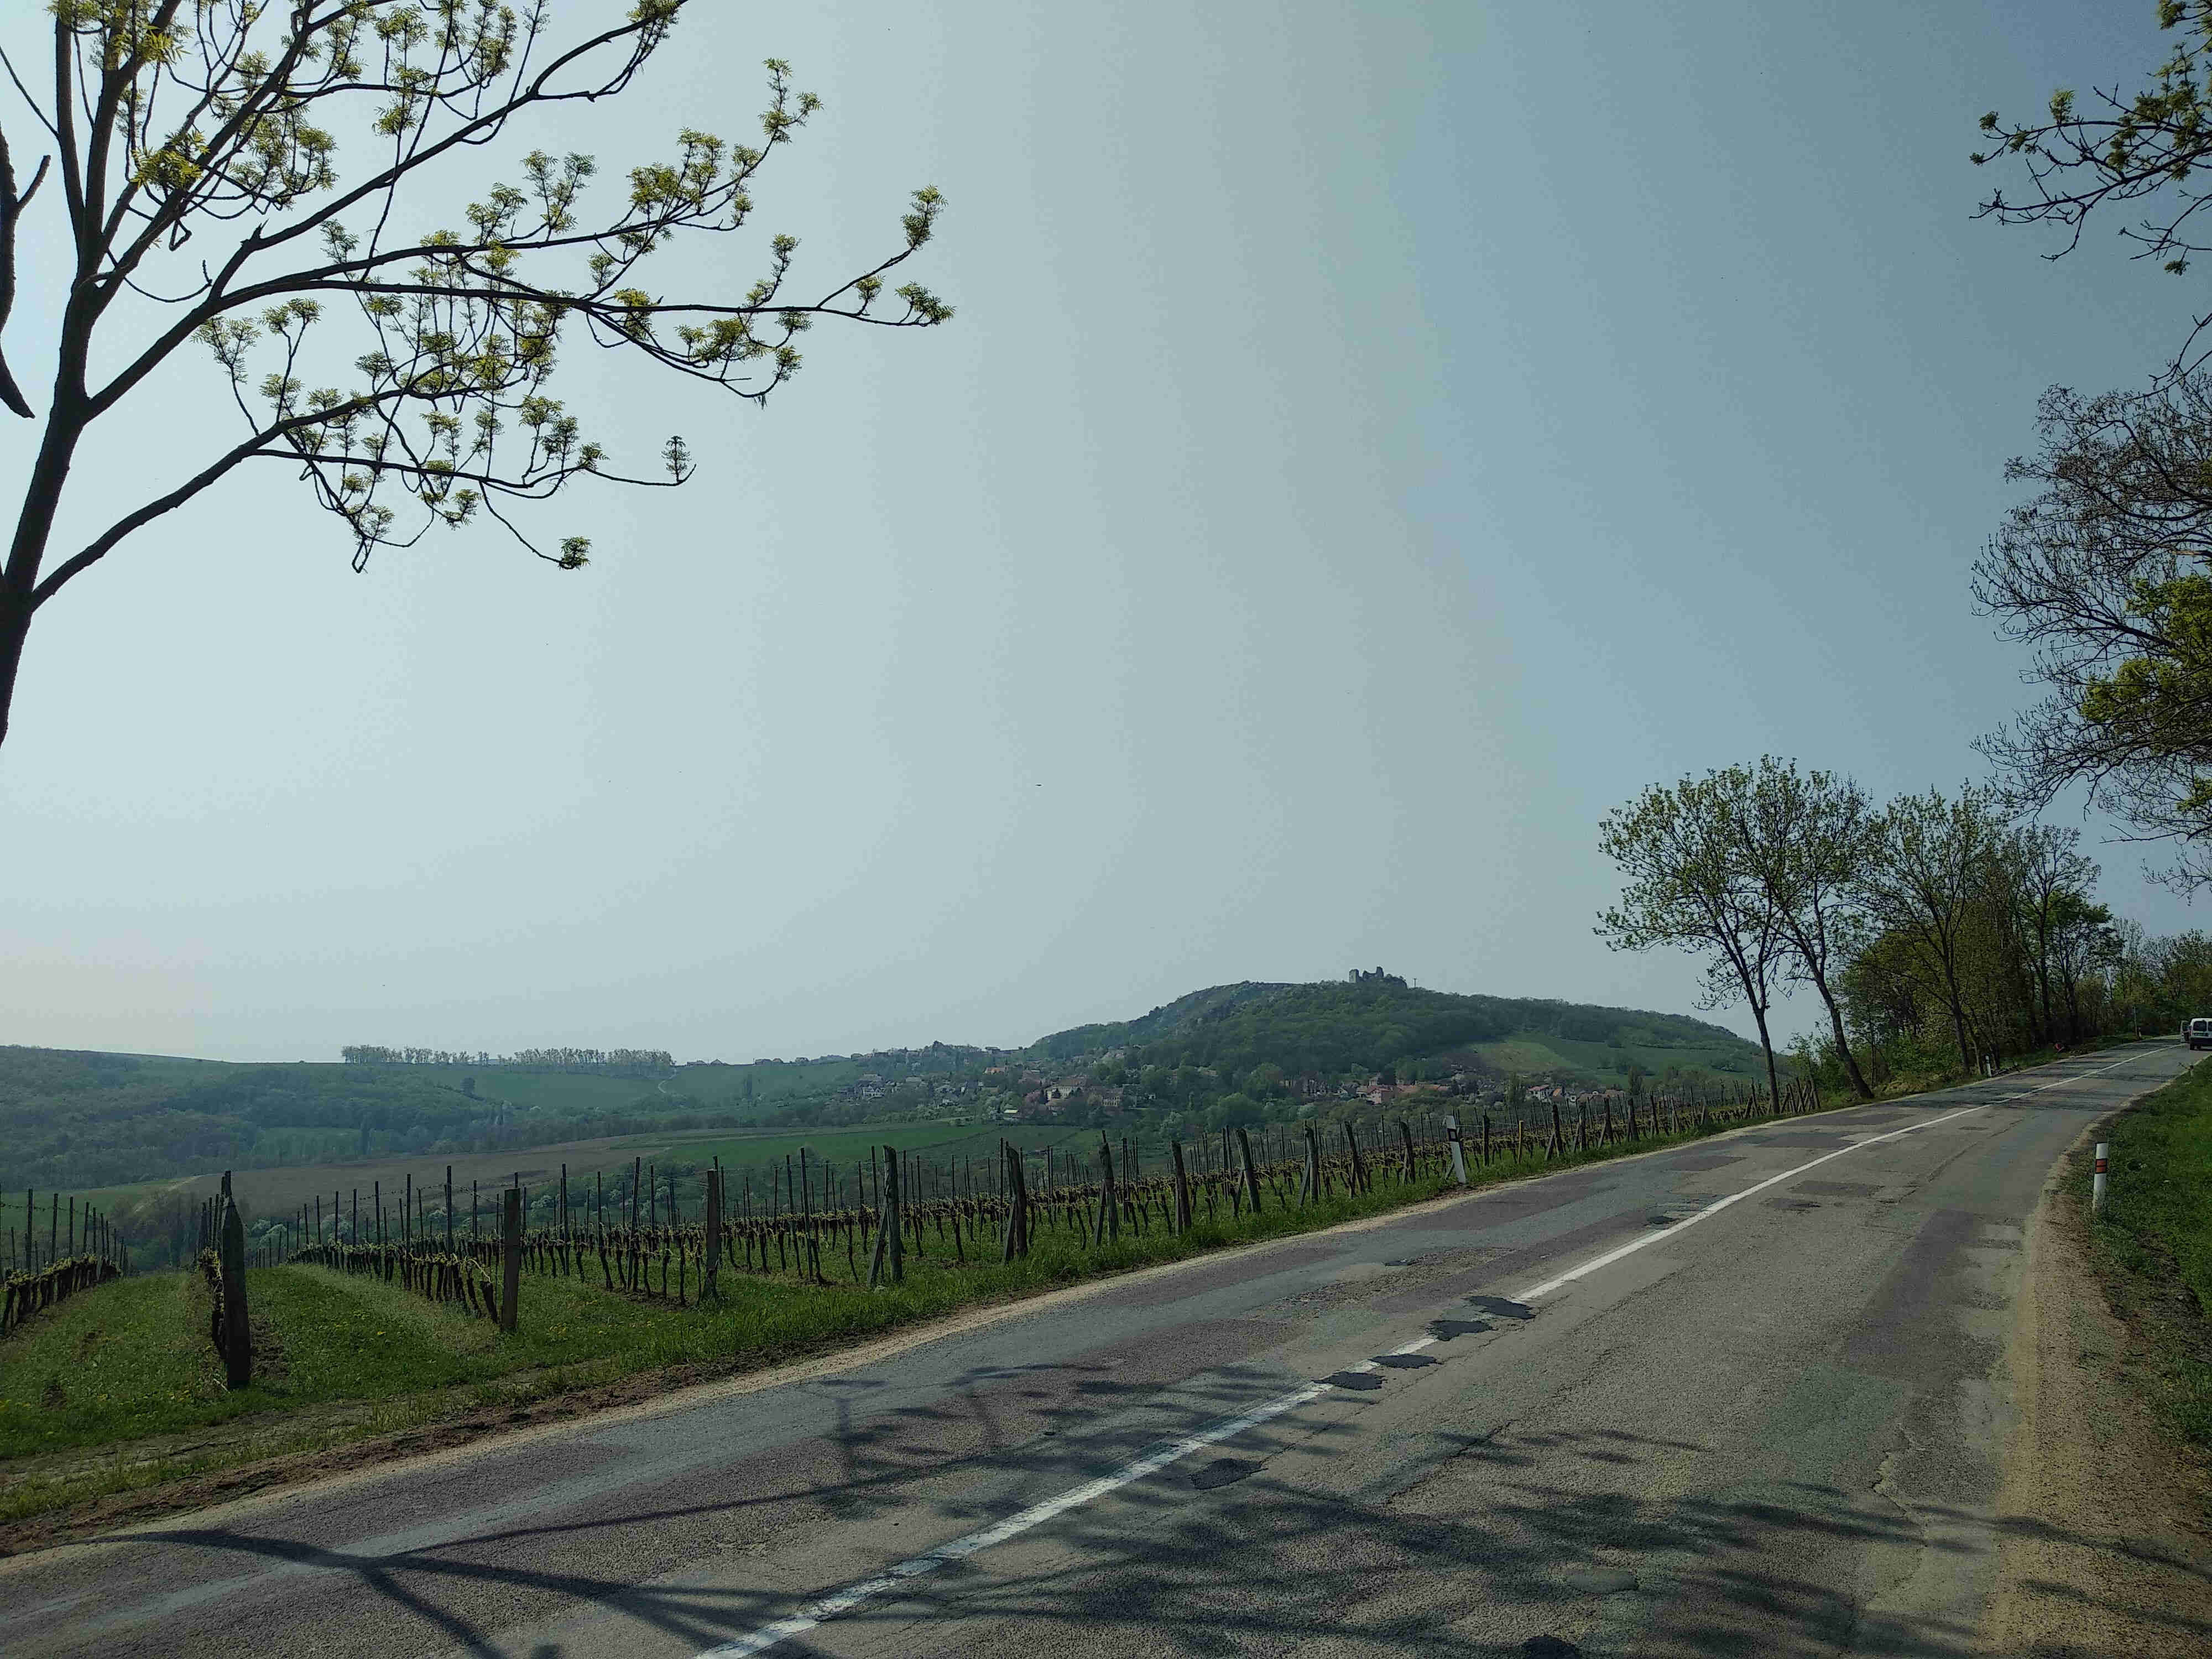
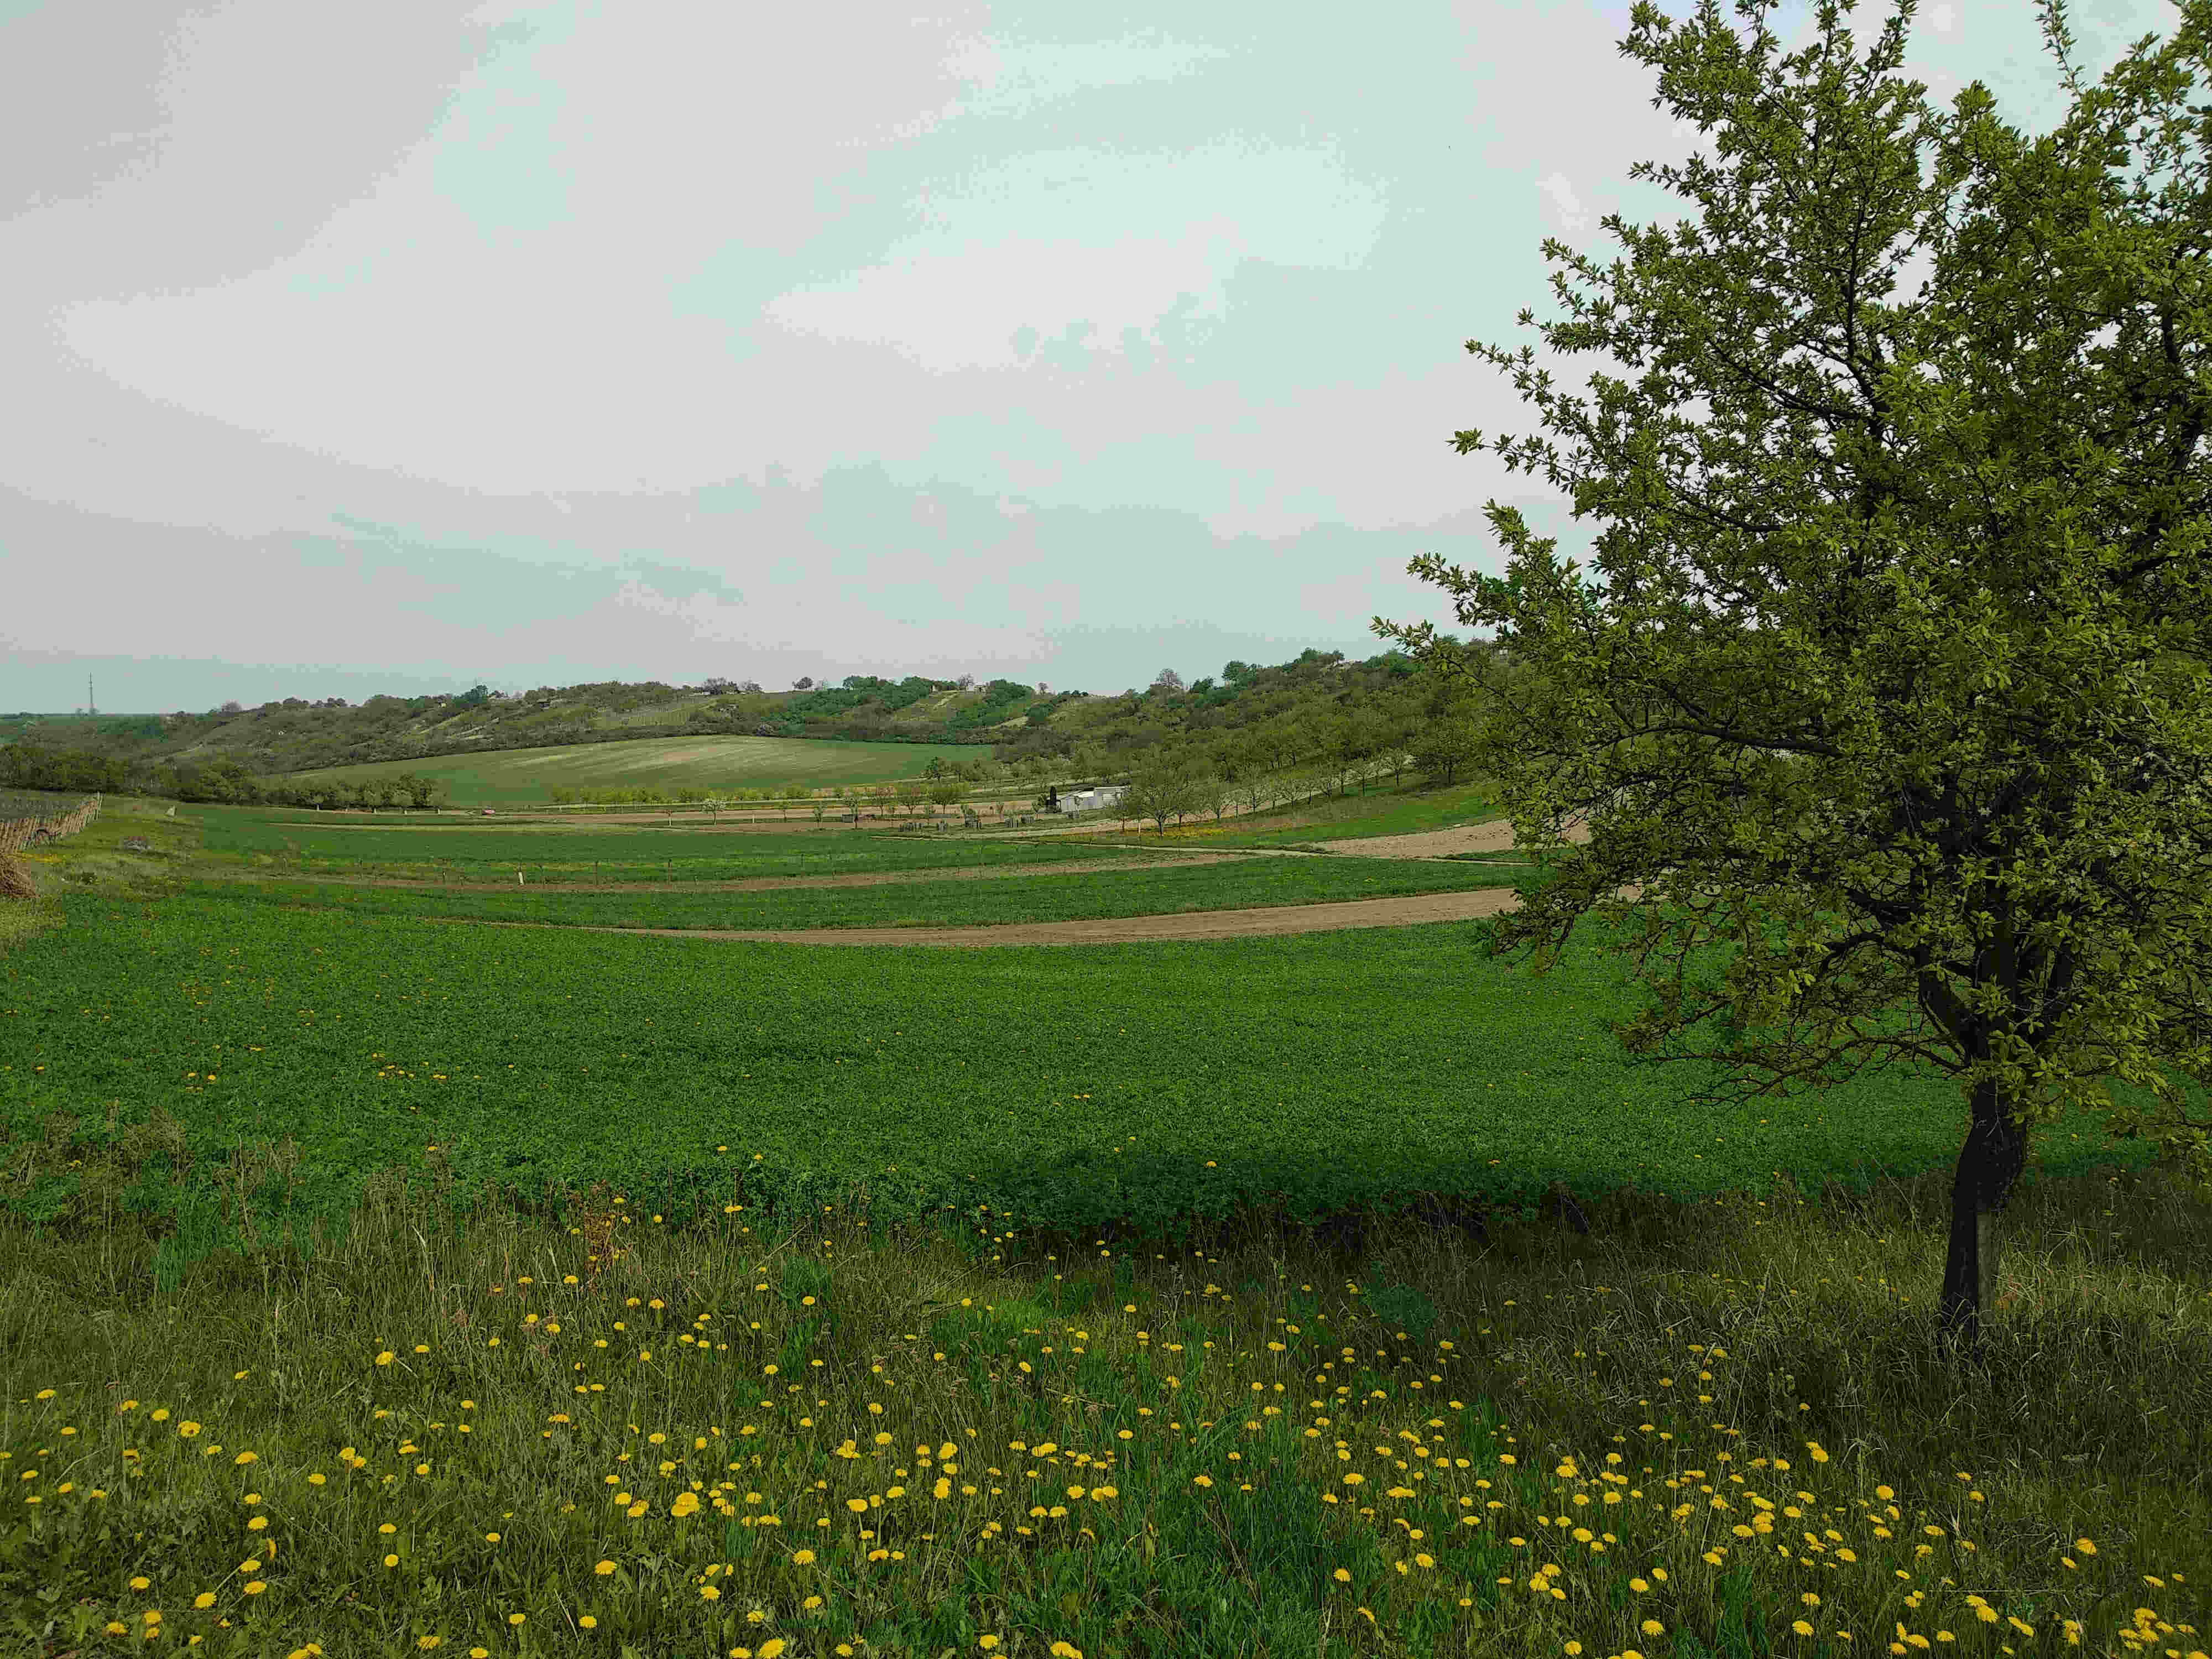
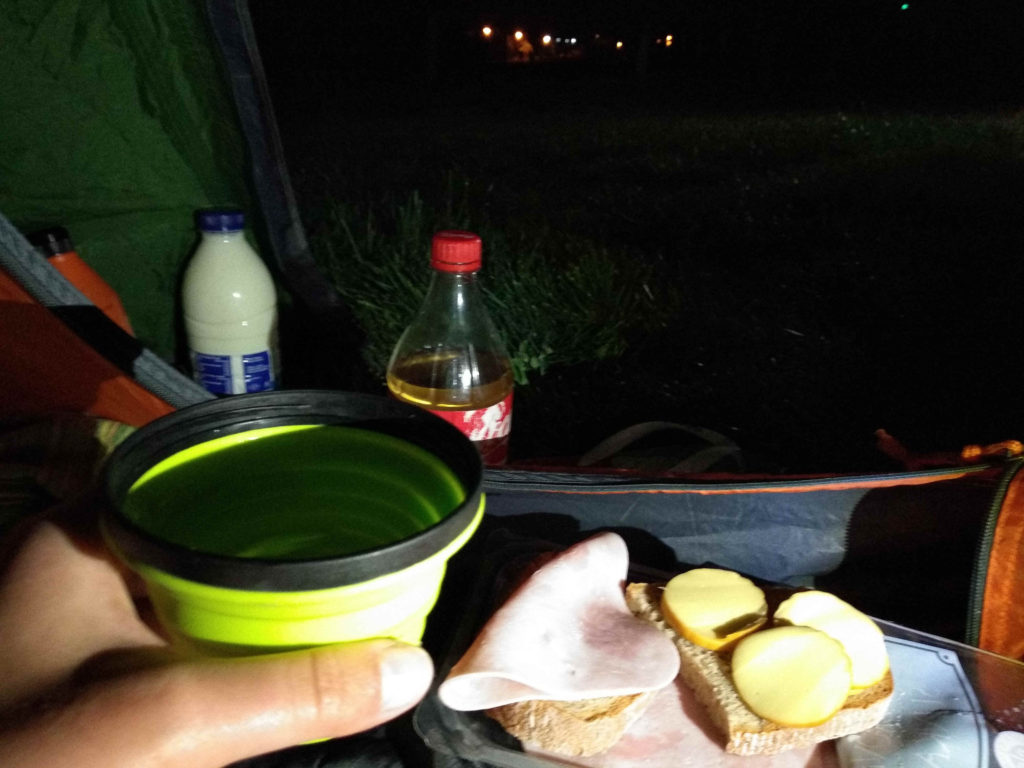
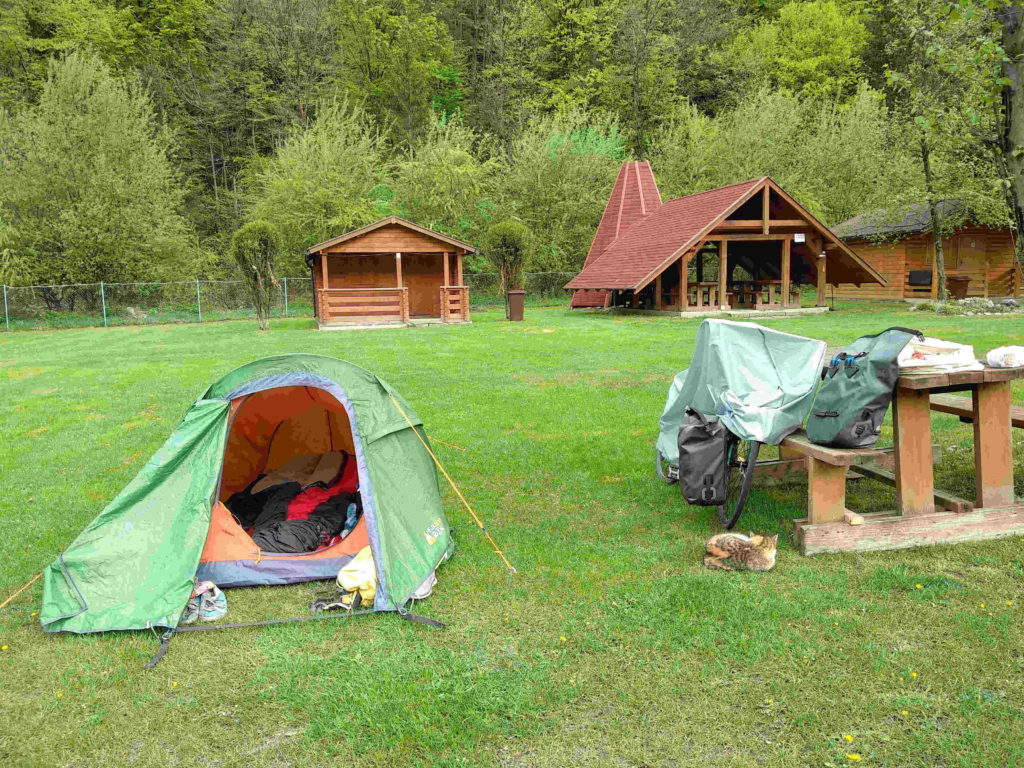
And that was exactly my plan – stay for a day, ride around and taste the wine of course. And it would be all good, if it wasn’t so hot those days in Czechia. During the day, when riding around Palava, I found it impossible to drink especially when I still had to many kilometers ahead. But I thought ‘that’s fine, I will have some in the evening instead.’ So I came back to my camp, had some rest and went out to the village to find a wine bar.

To my big surprise this area full of tourists – mostly locals – on Saturday when I arrived, was absolutely empty on Sunday. Shops were closed, bars and restaurants were closed – there was basically nowhere to have a drink or a bite. I was leaving next morning and, seriously disappointed in my organizational skills, I went to sleep. However the best was about to come.

Next day I was cycling out of Mikulov, climbing a semi-steep hill, when an old lady came out of  her house and staring at me with her wide opened eyes she exclaimed some very surprise-expressing words in Czech. With my Russian knowledge I figured she said something like ‘I haven’t seen anything like this before’ meaning my loaded bike and perhaps myself.

I stopped trying to reward her curiosity with my sign-language explanations of who I am and where I am going. A little later she asked if I’d like to taste some of her wine, and of course I couldn’t say no…and why would I ?? The lady run into her house and came out with two short glasses and a laboratory flask looking thing that had wine in it. She was holding it upside down on her right shoulder and with her left hand she was keeping the wine from running out (I really regret not taking a picture but that could break the whole moment).

Like a pro – well, she was a pro – she poured us two glasses of her homemade Mikulov wine that was shining in the afternoon sun. I tohught to myself ‘this must be the best Mikulov wine I could ever find’. Not only was it actually good, but it carried all the joys of travelling and meeting  the kindest and most hospitable people on my way.

After the first glass was empty, she said something else which I thought meant ‘would you like to taste another one?’ In fact, she was making sure that I liked it because next thing I knew was that she run back into the house and came back with a liter of her amazing wine and gave it to me. And this is how I almost missed but found the best ever Mikulov wine.

homemade wine
Cheers to the kindness of strangers!


How Much Money Do I Need For Bike Touring?

After a few basic questions that everyone asks – I call them level 1 FAQ – people move to the next series of questions, a bit more practical and philosophical. 

One of them is undoubtedly the money question. Many tend to think that to be touring on a bike you need to be rich. While I am sure that rich people tour too, the majority of tourers give little significance to the budget.

There are certainly things that you need to account for like visas, medical travel insurance, necessary transportation (for example crossing between the continents), telephone bills and national park tickets. Next come accommodation and food.

Your choice of accommodation is huge and so are the expenses. It ranges from 100% free wild camping and community hosting to luxurious hotels every night. In the middle there are campsites, hostels, motels, hotels, airbnb, guesthouses etc.

For example, I wasn’t prepared to camp below 5°C, neither were the campsites open in March when I started, so I used the help from the Warmshowers community and found cheap hostels when there was no host available. Later on I tried to camp when possible, but preferred a guesthouse when I wanted to leave my bike in a safe place and go hiking. And sometimes I was hosted by friendly locals.

Then food. Even more than the accommodation, the choice is yours. From restaurants to the grocery stores and foraging. And most likely you will end up with a mix of it all, together with the treats from passer-by’s and hospitable locals.

I also decided to share with you my actual expenses for the 99 days of my journey. When planning, I had in mind a daily average budget of 5 euros for food and 10 euros for accommodation. Of course, every day was different but on the average it turned out to be pretty accurate. My average daily spent was 16 euros accounting for all kinds of expenses such as bicycle repair and spare parts, ferry crossing, park tickets and internet & phone.

*ferry ticket of 110 euro is included in the Other category

Assume that you are prepared to wild camp every day and eat only what you make, and your costs can be very very low! But of course sometimes it’s nice to try local specialties, invite friends for a dinner or get into a hostel and explore a city.

All in all, you can see that it’s not an impossible venture, but rather a well thought and tried way to travel the world for little money or simply to explore your own country 🙂

How Green Can You Cycle?

Hiking in Borjomi National Park, Georgia

Bicycle is a green way to travel, no doubt here. But how green can you really travel by bike?

I took 4 main aspects of any trip – transportation, eating, sleeping and entertainment.

Starting with the most easy one – transportation. Here bicycle definitely wins compared to cars, trains, ships and airplanes. There is no fuel to be used and no emissions either. It can only lose to walking and perhaps paragliding but none of them are a widespread alternative for long trips. 

Bicycle has a perfect speed – it both lets you enjoy the views, smell the flowers and talk to people, and it can also make a decent amount of km a day. I believe most bicycle tourers do 80-100km a day on the average.

But, back to the ‘greenness’ of bike touring.

Eating. Although it’s possible to eat in restaurants while on a bike tour, most cyclists end up buying local produce on the roadside or in a village shop and cook their food themselves. Other times you get invited into peoples house and share their homemade meals. Most often it’s probably a mix of everything but in essence a bike tourer is more inclined to buy local produce, contribute to a small village economy and not to waste any food!

One downside, however, to food shopping are the omnipresent plastic bags. And we shared this concern with many other travellers. No matter how hard you try to convince the shopkeeper that you don’t need that one apple to be put into a plastic bag, once in a while you will meet a stubborn person who will enforce that bag into your hands…but just keep trying 🙂

Next one is sleeping. At home I have a habit to stay up late, and therefore burn electricity. While camping, I would most often go to sleep with the sun and wake up with the sun, or otherwise use a small flashlight – charged from the solar panel – to read a book. Perhaps a small win, but still.

And the last aspect is the entertainment that we usually look for when on a trip. Be it eating in a fancy restaurant where half of the plate comes from another continent or taking a boat trip polluting local sea or lake waters, all of these becomes of a little interest when bike touring.

And I believe that there are a few factors that contribute to this, at least in my case. Firstly, cycling rewards me with so many impressions and emotions that I hardly ever think of anything extra to add to it. Secondly, many bike tourers avoid big cities and prefer small and quiet countryside where little such entertainment exists in the first place. And lastly, why not, a tourer is usually on a tight budget and would stick to more simple experiences in the nature like hiking or swimming in a lake.

To sum it up, bike touring brings us a more natural lifestyle where we buy only what we need, don’t waste food, reuse what we can, and do no (or minimal) harm to the environment, and in the meantime we live happier and healthier than ever!

Day 1. Two Mistakes To Avoid On Your First Day

If, like me, you have had little experience in riding a fully loaded bike, your day 1 is likely to bring you some interesting moments.

As a well-prepared person, two days before my actual departure I decided to make a test ride. I attached the four panniers to my bike, filled them with all kinds of stuff I had at home in order to make the bags heavy and rolled out of my apartment in Amsterdam to cycle to Zaanstad and back. This would in total make 40 km, roughly the half of what I counted to ride daily on my journey.

The bike felt heavier of course but not drastically. I rode to the west of Amsterdam to take a ferry to Zaanstad, looking like a tourist and taking a picture with this classic Dutch statue. Just like a real day on the tour 🙂

I visited a friend in Zaanstad for a few hours and rolled back to Amsterdam. When the trip was finished, my average speed was at 19 km per hour and I didn’t feel more tired than usual. The test was a success!

But not quite my Day 1.
So what did I do wrong after all the preparations?

Firstly, I underestimated the real weight of my luggage. What I put in the bags was likely half of the actual weight I took with me. Add to it the tent and the sleeping bag tied to the back of the bike and you will get a very heavy bike. Weighing the luggage only, I counted ~30 kg, and this was a BIG difference. The bike became a tank that was not just difficult to push but also difficult to handle at first.

The thing is when you add weights on the front wheel, it will take you a bit of time to master a new balancing algorithm of your bike. In fact, once you master this new way, it will be very unusual to ride the bike without the weights. Obviously, with time you will be switching these modes in your head (and hands) in a matter of seconds.

Too heavy to lift

We couldn’t even take a picture with three of us because the bike wouldn’t stand by itself 😀

And when my friends set me off from my apartment that day I was shaking and wobbling like someone who just learned how to cycle.

Mistake #2. I made an appointment with a friend to have a lunch in Utrecht which is ‘only’ 45 km away. “Three hours should be more than enough time to cover this distance even on day 1,” I thought. I was wrong, I was very wrong. 15 minutes after I said goodbye to my colleagues in Amsterdam-Zuidoost, a heavy storm fell from the sky, naturally with a strong headwind all the way to Utrecht.

I stopped to put my rain gear but first I had to remember which bag it is in (having finished packing at 4am that night I had vague memories of what is where). As it was March and the trees were still bare, I was already 20% wet when I finally found and put my rain clothes.

I headed into the rain and the wind with all my powers. In another 30 minutes I was nearly 100% wet and it wasn’t even clear what had more impact – the rain from the outside or the sweat from the inside. I must have looked miserable trying to overcome the weather but I was trying my best to make it on time. Well….I was late for more than an hour and soaking wet! One thing I regret is that we didn’t take any photo when I arrived. It would make for such a good laugh now 😀

Luckily, I was still able to catch my friend for a bit, the sun started to shine (exactly as soon as I arrived) and all the troubles were forgotten.

There are possibly many more mistakes that could happen to you on your Day 1 (read about Niel Gunton’s Day 1 here) but those were mine and I am happy to share them with you. And I would really recommend to make a true test ride with everything you have got to carry on your trip prior to the ride and not to make any time-sensitive appointments. Actually making strict appointments sounds like a bad idea to me anytime on a bicycle journey as there are usually too many unpredictable factors like the weather, roads, punctures, people and the beautiful views you have got to photograph 🙂

How To Add Bar Ends to Trek 7.3FX Satellite Plus IsoZone Handlebars

The original handlebar on my Trek FX 7.3 is a very comfortable, ergonomic Bontrager Satellite Plus IsoZone model. I wasn’t happy only with one aspect – the lack of positions other than pushing straight-armed on the handlebars. For a few days it was ok but when I started planning my journey to Armenia, I knew that I have to add some bar ends.

The reason I write about this is because the handlebars have unusual endings and I had to spend some time researching what would be the right solution, and there weren’t too many materials at that time.

Since the handlebars have non-round endings, I had to use adapters to make them round before installing the bar ends. At that time the only adapter produced by Trek was the Bontrager Race Lite Ergo Bar IsoZone Bar End Adapters. Now I found new Bontrager Satellite Plus IsoZone Bar End Adapter which does the same thing, i.e. making the handlebar round at its end, only it has a different cap (which in my case plays just an aesthetic role).

So the job to be done was to remove the grip from the handlebars, cut out part of the white insert because otherwise the adapter wouldn’t fit, and put the adapter and fix it with the grip.

Now what you get is a few centimeters space to add a bar end. Mind that the end of this (Race Lite Ergo) model is not even – last few centimeters are a bit lower and the bar end should not come on that part.

Adding a bar end is a simple task. It’s good to test the exact position you want them to be in, like the angle and the direction of the bars.

Race Lite adapter model from the outside.
That’s how the Race Lite adapter model looks from the outside.
the bar ends installed
Pa-Bam! Final result with the bar ends installed 🙂

Later I have wrapped the bar ends with a soft tape so that I don’t touch cold metal when riding in winter months.